Maintaining your RV’s propane system is essential for safe and efficient operation of appliances such as stoves, heaters, and refrigerators. Below is a guide to common propane issues, their causes, troubleshooting steps, and an instructional video to assist you.
1. Propane Not Flowing
Potential Causes:
• Closed or partially open propane tank valve.
• Engaged excess flow valve due to rapid opening of the tank valve.
• Faulty propane pressure regulator.
Troubleshooting Steps:
1. Check the Propane Tank Valve: Ensure the valve is fully open. Open it slowly to prevent triggering the excess flow valve.
2. Reset the Excess Flow Valve: If the valve was opened too quickly, it might have engaged. To reset:
• Turn off the propane tank valve.
• Turn off all propane appliances.
• Wait a few minutes.
• Slowly reopen the propane tank valve.
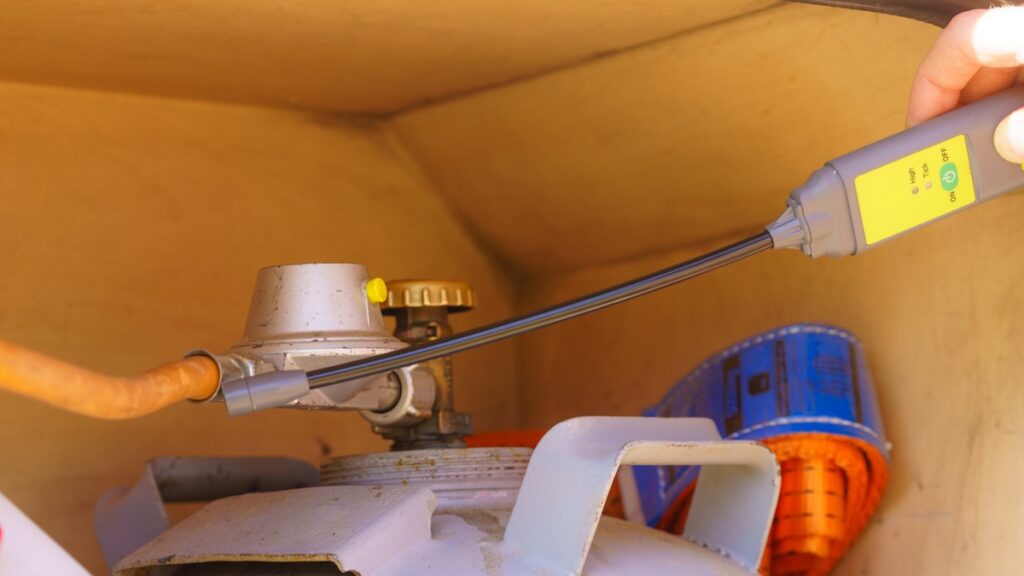
3. Inspect the Propane Pressure Regulator: Look for signs of wear or damage. Common indicators of a faulty regulator include:
• Yellow or orange flames instead of blue.
• Popping sounds when turning burners on or off.
• Soot accumulation on burners.
• If any of these symptoms are present, consider replacing the regulator.
Instructional Video: RV Propane Troubleshooting: Common Propane Issues & How to Solve Them
2. Weak or Yellow Stove Flames
Potential Causes:
• Clogged burner orifices.
• Low propane pressure due to a faulty regulator.
Troubleshooting Steps:
1. Clean the Burner Orifices: Ensure they are free from debris or buildup. Use a soft brush or compressed air to clean.
2. Check the Propane Pressure Regulator: As mentioned above, a faulty regulator can cause improper flame color. Replace if necessary.
3. Propane Smell or Suspected Leak
Potential Causes:
• Leaking propane lines or connections.
Troubleshooting Steps:
1. Turn Off the Propane Supply: Immediately close the propane tank valve.
2. Ventilate the Area: Open windows and doors to disperse any accumulated gas.
3. Inspect for Leaks: Apply a soapy water solution to propane connections and lines. Bubbles will indicate a leak.
4. Repair or Replace Faulty Components: Tighten connections or replace damaged hoses as needed.
5. Test the System: After repairs, slowly reopen the propane valve and monitor for any signs of leakage.
4. Appliances Not Igniting
Potential Causes:
• Air in the propane lines.
• Faulty igniters or thermocouples.
Troubleshooting Steps:
1. Purge Air from the Lines: Light a stove burner to allow any trapped air to escape until the flame burns steadily.
2. Inspect Igniters and Thermocouples: Ensure they are clean and properly positioned. Replace if defective.
5. Propane Detector Alarms
Potential Causes:
• Actual propane leak.
• Faulty or expired propane detector.
Troubleshooting Steps:
1. Check for Propane Leaks: Follow the steps outlined in section 3.
2. Inspect the Propane Detector: Ensure it is within its operational lifespan (usually 5-7 years) and functioning correctly. Replace if expired or malfunctioning.
Regular maintenance and prompt attention to your RV’s propane system are essential for safe and efficient operation. Always consult your RV’s owner manual and adhere to safety guidelines when performing repairs. If you’re uncertain about any repair, it’s advisable to seek professional assistance.
PDI: Bubble Solution Test
Perform Bubble Test: Open the service valve on the container and bubble test all fittings that had been removed and reinstalled during the test procedures using an appropriate leak detection solution.
Document all test results. Test documentation should include:
- RV year, make, model and V1N
- Air and system piping temperatures
- Date and Start and End times of the testing
- Type of manometer used (if gauge type, include the date of last calibration)
- All adjustments performed including the final adjusted pressure measurement
- Technician’s full name and signature


