Addressing leaks in your RV is crucial to prevent water damage, maintain the structural integrity of your vehicle, and protect your belongings. Water intrusion can lead to problems like mold growth, rotting wood, damaged insulation, and costly repairs if not resolved promptly. Common leak areas include roof seams, windows, doors, slide-outs, and plumbing systems, all of which are vulnerable to wear, weather exposure, and age-related deterioration.
This guide will help you identify the sources of leaks, such as cracked seals, loose fittings, or damaged gaskets, and walk you through effective troubleshooting steps. From resealing roof seams to replacing faulty plumbing connections, you’ll find detailed instructions and instructional videos to assist you every step of the way. By staying vigilant and addressing leaks early, you can extend the lifespan of your RV and ensure it remains a safe and comfortable home on the road.
1. Roof Leaks
Potential Causes:
• Damaged or deteriorated seals around vents, skylights, or roof edges.
• Cracks or punctures in the roofing material.
Troubleshooting Steps:
1. Inspect the Roof: Examine all seams, seals, and fixtures for signs of damage or wear.
2. Clean the Area: Remove any debris or dirt to ensure proper adhesion of repair materials.
3. Apply Sealant: Use a self-leveling sealant appropriate for your RV’s roof material to repair any cracks or gaps.
4. Consider a Roof Coating: For extensive wear, applying a compatible roof coating can provide additional protection.
Instructional Video: Easy-ish DIY RV leak repair
2. Window Leaks
Potential Causes:
• Worn-out or damaged window seals.
• Improper window installation.
Troubleshooting Steps:
1. Inspect Window Seals: Look for cracks, gaps, or deterioration in the seals around the window.
2. Remove Old Sealant: Carefully scrape away old or damaged sealant without damaging the window or frame.
3. Apply New Sealant: Use a high-quality, RV-compatible sealant to create a new, watertight seal around the window.
4. Check for Proper Installation: Ensure the window is seated correctly and adjust if necessary.
3. Plumbing Leaks
Potential Causes:
• Loose or damaged pipe fittings.
• Cracked pipes or hoses.
• Faulty faucets or fixtures.
Troubleshooting Steps:
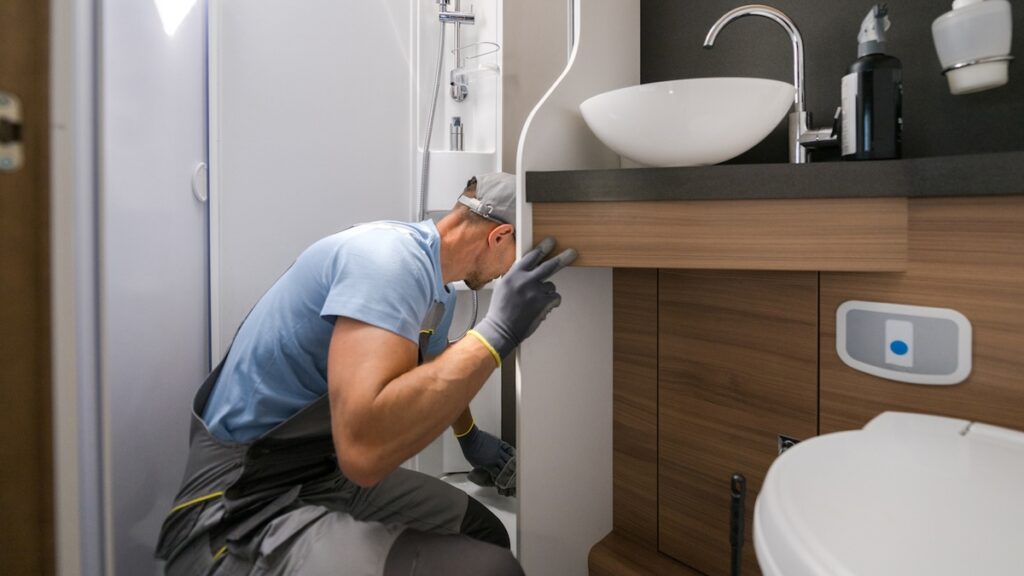
1. Identify the Leak Source: Check under sinks, around toilets, and near water heaters for signs of moisture.
2. Tighten Fittings: Use a wrench to gently tighten any loose connections, being careful not to over-tighten.
3. Replace Damaged Components: Swap out any cracked pipes, hoses, or faulty fixtures with new parts.
4. Test the System: Turn the water back on and observe for any leaks to ensure the repair was successful.
Instructional Videos: How To Repair An RV Plumbing Leak and DIY Complete plumbing PEX tubing leak repair. RV or Home repair step by step instructions w/ demo.
4. Holding Tank Leaks
Potential Causes:
• Cracks or punctures in the black or gray water tanks.
• Faulty tank seals or connections.
Troubleshooting Steps:
1. Drain the Tank: Ensure the tank is empty before attempting any repairs.
2. Clean the Area: Thoroughly clean and dry the area around the leak to ensure proper adhesion of repair materials.
3. Apply Appropriate Repair Materials: Use a repair kit designed for RV holding tanks, following the manufacturer’s instructions.
4. Allow to Cure: Let the repair material cure fully before refilling the tank.
Instructional Videos: (:HowTo:) Permanently Fix a Leak/Crack in an RV Black or Grey Water Holding Tank and RV Holding Tank Leak Repair And Permanent Fix
5. Shower or Toilet Leaks
Potential Causes:
• Damaged seals or gaskets.
• Cracks in the shower pan or toilet base.
Troubleshooting Steps:
1. Inspect Seals and Gaskets: Look for signs of wear or damage and replace as necessary.
2. Examine for Cracks: Check the shower pan and toilet base for any cracks and repair them with appropriate materials.
3. Tighten Connections: Ensure all plumbing connections are secure to prevent leaks.
Instructional Video: Water Leak under RV Shower – How to Repair it
Regular inspections and maintenance are key to preventing leaks in your RV. Always use materials compatible with your RV’s construction and consult your owner’s manual for specific recommendations. If you’re unsure about performing a repair, it’s advisable to seek professional assistance to ensure the job is done correctly.


